Fix Broken Image URLs After CDN Setup (Full Guide)
Fix Broken Image URLs After CDN Setup – A Technical Guide
Content Delivery Networks (CDNs) are powerful tools used to enhance website speed and performance by caching and serving content from distributed servers. However, after integrating a CDN, it’s not uncommon for website owners to encounter broken image URLs – a frustrating issue that can hurt SEO, user experience, and brand perception.
This guide provides a detailed and technical explanation of how to fix broken image URLs after CDN setup, and is tailored for developers, SEO specialists, and technical site owners.
Common Causes of Broken Image URLs After CDN Setup
When you configure a CDN and notice broken images after CDN setup, the root cause typically falls into one of these categories:
Incorrect CDN URL mapping or image path mismatch
If your image URLs in the HTML or CMS are hardcoded (e.g., example.com/images/pic.jpg) but the CDN uses a different domain or directory structure (e.g., cdn.example.com/media/), the CDN won’t locate the file correctly, resulting in a 404 error.
This mismatch often happens if:
- The CDN pull zone is misconfigured.
- The rewrite rules are incorrect or not applied site-wide.
- You updated your site to use a CDN, but the image paths were never updated in your content or database.
Cache conflicts or stale image files
CDNs cache files based on file headers and TTLs (time-to-live). If the cache is stale or corrupted, users may see missing images even though the original files exist. This is a common cause of CDN image URLs not loading even when they appear fine on the origin server.
Hotlink protection blocking image requests
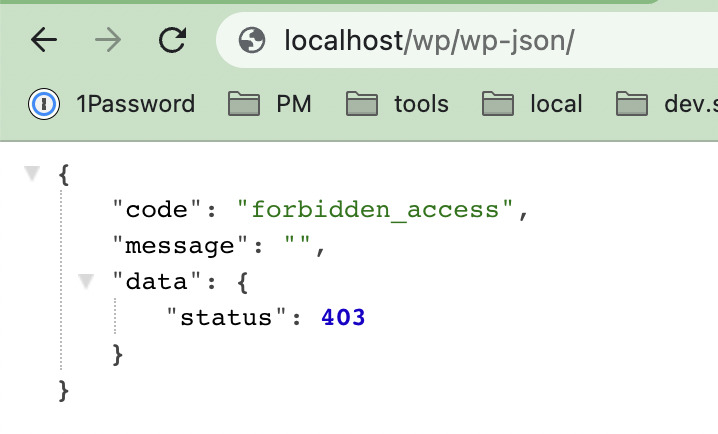
CDNs often include hotlink protection, which blocks external websites from embedding your images. However, if misconfigured, this can block your own site from accessing its own CDN-hosted images—especially if subdomains or alternate domains are used. This can lead to CDN image files returning 403 errors.
Mixed content or SSL misconfiguration
When your main site uses HTTPS, but the CDN serves content over HTTP, modern browsers may block the images due to mixed content policies. This leads to SSL issues with CDN image delivery, where images are silently blocked, especially in Chrome and Firefox.
CORS errors preventing image rendering
If your JavaScript or CSS loads images cross-domain from a CDN without proper CORS headers, browsers may block those requests, particularly in dynamic applications or single-page apps (SPAs). This issue typically shows up in browser consoles as CORS errors for CDN-hosted images.
How to Identify Broken CDN Image Issues
Use browser DevTools (Network & Console tab)
Open Chrome or Firefox Developer Tools, navigate to the Network tab, and reload the page. Filter for “img” or look for red HTTP status codes (e.g., 404, 403). The Console tab may also show mixed content warnings or CORS errors.
Crawl website with SEO tools
Use tools like Screaming Frog SEO Spider or Ahrefs Site Audit to identify broken image links. These tools will report:
- Image files returning non-200 status codes
- Incorrect CDN URLs
- Image redirects that fail
Check CDN logs and response headers
Your CDN dashboard (Cloudflare, BunnyCDN, KeyCDN, etc.) will provide request logs. Look for failed requests to image URLs and inspect headers for:
- Status: 404, 403
- Access-Control-Allow-Origin header missing
- Incorrect cache-control or content-type
Step-by-Step Fixes for Broken CDN Images
Step 1 – Update image URLs to match CDN paths
Replace all old image URLs pointing to the origin (e.g., example.com/wp-content/uploads/) with the CDN version (e.g., cdn.example.com/wp-content/uploads/).
For WordPress:
Use tools like:
- Better Search Replace
- WP Migrate DB
SQL Example (Backup First):
UPDATE wp_posts SET post_content = REPLACE(post_content, 'https://example.com/wp-content/uploads', 'https://cdn.example.com/wp-content/uploads');Code language: JavaScript (javascript)This resolves image path mismatch and ensures that all internal content loads via the CDN.
Step 2 – Verify CDN origin pull configuration
Check that your CDN’s pull zone is correctly set to your origin domain. If your CDN is misconfigured, it might try to fetch images from the wrong directory or protocol.
- Ensure the origin URL matches your media root path.
- If using a CMS, check for plugin-level settings that override media URLs.
Step 3 – Purge CDN cache and force file refresh
If images were recently updated, cached copies may be outdated or corrupted.
- Go to your CDN panel and perform a “Purge All” or “Purge by URL”.
- Ensure your origin server returns fresh, cacheable images with appropriate headers.
This solves issues like CDN cache causing broken images or outdated file versions being served.
Step 4 – Disable or configure hotlink protection
Navigate to your CDN’s security settings (e.g., “Scrape Shield” in Cloudflare).
- Either disable hotlink protection, or
- Add your domain and subdomains to the whitelist.
Improper hotlink rules often lead to images missing after enabling CDN or 403 errors from image servers.
Step 5 – Fix SSL and force HTTPS for CDN image delivery
Ensure all image URLs use https:// to avoid browser blocks. Configure the following:
- Force HTTPS redirect via CDN or web server
- Use protocol-relative URLs (e.g., //cdn.example.com/img.jpg) where applicable
Misconfigured SSL is a common reason for images not displaying after CDN integration.
Step 6 – Set proper CORS headers for cross-domain loading
If you load images dynamically via JavaScript or canvas, you must enable CORS on your origin server:
Apache Example:
<IfModule mod_headers.c>
  Header set Access-Control-Allow-Origin "*"
</IfModule>Code language: HTML, XML (xml)
NGINX Example:
add_header 'Access-Control-Allow-Origin' '*';Code language: JavaScript (javascript)Adjust the domain value to avoid security risks. This step is essential for resolving CDN CORS image errors.
Step 7 – Sync missing images to CDN or reset origin
In some cases, the CDN never fetched the image due to permissions or delays in cache. You can:
- Upload missing images manually
- Re-crawl the site using a preload crawler (e.g., WP Rocket Preload)
- Force-refresh images via CDN API
This step helps when you see CDN not showing media files even though they exist on your server.
WordPress-Specific Fixes
When using a CDN with WordPress, special considerations are necessary due to how WordPress stores and serves media. Here’s how to resolve broken image URLs after CDN setup within the WordPress environment.
Use CDN-Compatible WordPress Plugins
To ensure images are properly rewritten to use the CDN domain, use a plugin that is fully compatible with your CDN provider. These plugins rewrite media URLs in posts, pages, and templates automatically.
Recommended plugins:
- CDN Enabler: Lightweight and fast, rewrites URLs and supports WebP conversion.
- W3 Total Cache: A robust caching plugin that integrates CDN support across media, CSS, JS.
- WP Rocket: Premium performance plugin with built-in CDN integration, preloading, and automatic URL rewriting.
Key features to enable:
- URL rewriting for all attachments
- Auto-purge CDN cache on content update
- HTTPS support to prevent mixed content issues
Always test plugin settings in a staging environment before deploying to production. Incorrect configuration can cause media not to load or serve the wrong protocol.
Regenerate Thumbnails After CDN Setup
After migrating to a CDN, if you notice missing thumbnails or broken image sizes in WordPress themes:
- Use Regenerate Thumbnails plugin to recreate all image sizes defined by your theme.
- This ensures newly generated thumbnails are properly accessible via CDN URLs.
Check .htaccess and robots.txt for Conflicts
Certain server rules can conflict with CDN image delivery, especially if you’re using Apache and .htaccess or managing robots.txt rules manually.
Verify the following:
robots.txt:
- Ensure you are not blocking CDN-hosted media like /wp-content/uploads/ if your CDN serves from that path.
- Disallow rules such as Disallow: /wp-content/uploads/ can block Google from indexing images.
.htaccess:
- Check for rewrite rules or MIME type restrictions that might prevent images from loading from CDN domains.
- Avoid forceful redirects that interfere with CDN URLs (e.g., http → https loops or CDN → origin rewrites).
Preventing Broken Image URLs in the Future
Once fixed, it’s crucial to set up long-term safeguards to ensure CDN image URLs do not break again due to future deployments or configuration changes.
Use Protocol-Relative or Dynamically-Generated Image URLs
Avoid hardcoded http:// or https:// paths for images. Instead, adopt protocol-relative URLs or generate them programmatically.
Example:
<img src="//cdn.example.com/images/photo.jpg">Code language: HTML, XML (xml)This auto-resolves the protocol based on the current page and helps avoid mixed content issues, especially on HTTPS websites.
In WordPress or custom PHP CMS platforms, use built-in functions like:
<?php echo get_template_directory_uri(); ?>Code language: HTML, XML (xml)or filter media URL output via hooks when using a CDN plugin.
Set Up Automated Monitoring for Image Loading Errors
Don’t rely on manual testing alone. Use automated monitoring and alerting tools to detect and fix issues early.
Monitoring tools:
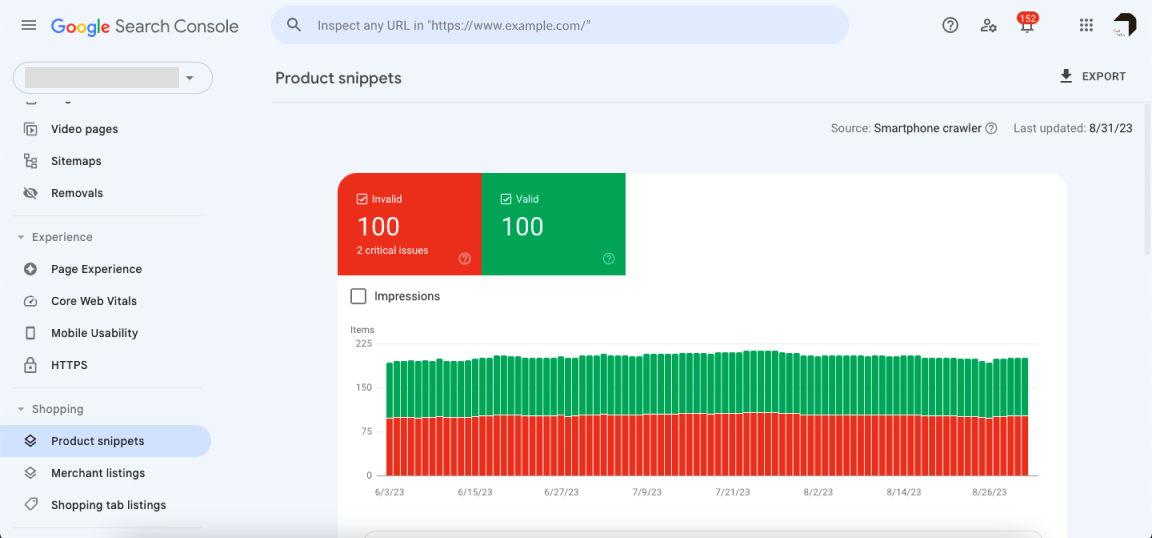
- Google Search Console: Coverage and Enhancements reports show broken image indexing or structured data issues.
- Cloudflare Analytics or BunnyCDN Logs: Show CDN access errors and missing asset URLs.
- Sentry, LogRocket, or Raygun: Track frontend runtime errors where image loads fail.
- StatusCake or UptimeRobot: Can ping images to detect 404s or slow loading assets.
Proactively monitor both CDN endpoints and origin servers.
Test CDN Configuration on a Staging Site First
Many image-related problems arise from skipping proper testing. Before applying CDN changes to a live site:
Step 1: Clone your live site to a staging environment.
Step 2: Configure the CDN and test the following:
- Image path correctness (CDN origin vs cache pull)
- Hotlinking and CORS behavior
- Protocol and SSL compatibility
- Image compression and WebP conversions
Step 3: Use tools like WebPageTest, Lighthouse, or GTmetrix to validate performance.
Only push to production once all visual and technical tests pass.
Configure Correct Cache Behavior and CDN Rules
A frequent cause of broken images post-CDN setup is aggressive caching or incorrect caching rules.
- Enable origin fallback: If the image isn’t cached, it should automatically pull from origin.
- Set proper cache headers: Use Cache-Control and Expires to instruct CDNs when to refresh content.
- Purge old images when updating or replacing media files.
- Avoid file naming collisions (e.g., image.jpg vs image-1.jpg vs image.jpg?v=2).
Conclusion
Fixing broken image URLs after setting up a CDN isn’t just a one-time task—it requires:
- Diagnosing configuration and rewrite issues
- Ensuring plugins and platform settings are CDN-compatible
- Validating URLs, hotlinking policies, SSL, and cache control
- Establishing proactive monitoring and testing workflows
For WordPress users, using reliable plugins like CDN Enabler or W3 Total Cache, and reviewing .htaccess and robots.txt rules, is essential to avoid content delivery issues. Non-WordPress users must handle similar logic at the application or server level.
Don’t let broken images damage your UX, SEO, or trust. Treat your CDN integration as a critical system, not just an afterthought.
RELATED POSTS