Fix Memory Exhausted Error in WordPress (Step-by-Step)
Why You See the “Memory Exhausted Error” in WordPress
The “Memory Exhausted Error” in WordPress typically appears as:
Fatal error: Allowed memory size of xxx bytes exhausted…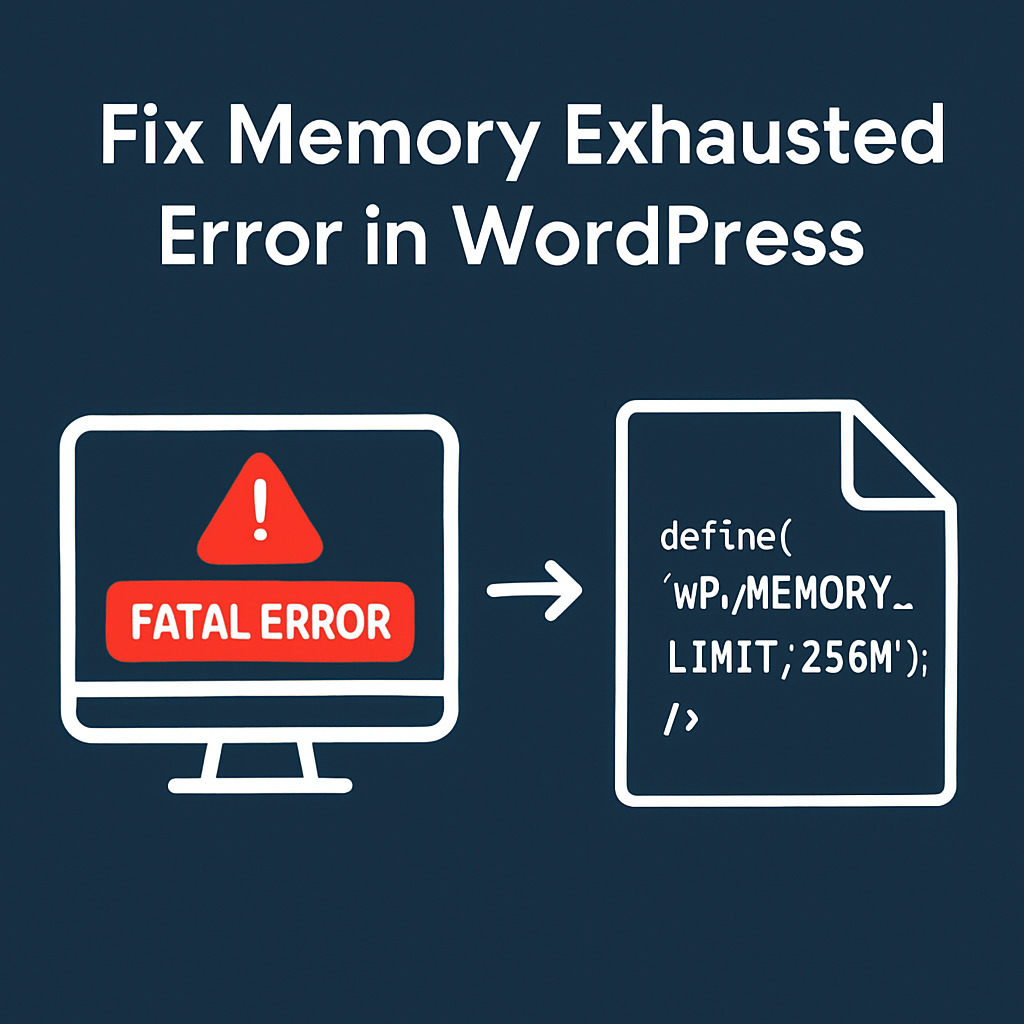
This error occurs when WordPress exceeds the amount of memory allocated to PHP by the server. It often causes a white screen of death (WSOD), plugin failures, or even breaks the entire site. Site owners running WooCommerce, large plugins, or media-heavy content are more likely to experience this error.
What Is the Default WordPress Memory Limit?
By default, WordPress sets a memory limit of 40MB for single-site and 64MB for multisite installations. However, many hosting providers restrict it further through server-level PHP settings.
To override the default and provide WordPress more memory, you need to use the constant WP_MEMORY_LIMIT. For admin tasks, WordPress also uses WP_MAX_MEMORY_LIMIT, which can go up to 256MB or higher.
How to Check Current PHP Memory Limit in WordPress
Method 1: Use phpinfo()
Create a file named phpinfo.php with the following content:
<?php phpinfo(); ?>Code language: HTML, XML (xml)Upload it to your server, access it via browser, and search for memory_limit.
Method 2: Use Site Health Tool
In WordPress Admin, go to Tools > Site Health > Info > Server, then check the PHP memory limit.
Method 3: Use a Plugin
Install plugins like Query Monitor or WP-ServerInfo to view the current memory allocation.
Step-by-Step: Fix Memory Exhausted Error in WordPress
Increase Memory Limit via wp-config.php
This is the most direct method. Edit your wp-config.php file and add:
define('WP_MEMORY_LIMIT', '256M');Code language: JavaScript (javascript)Place it above the line that says /* That’s all, stop editing! */.
For admin-side tasks (like backups or imports), you may also add:
define('WP_MAX_MEMORY_LIMIT', '512M');Code language: JavaScript (javascript)Modify PHP Memory via .htaccess (Apache Servers Only)
Add the following line to your .htaccess file:
php_value memory_limit 256MNote: This only works if your server allows overriding PHP values via .htaccess. If you get a 500 error, remove the line.
Increase PHP Memory via php.ini
If your hosting provider allows custom php.ini, add or modify this line:
memory_limit = 256MYou may need to place this file in /public_html or /wp-admin, depending on server setup.
Use a Plugin to Raise Memory Limit
Some plugins allow you to edit PHP settings without coding:
- WP Config File Editor
- WP Memory Limit
These plugins modify wp-config.php or .htaccess automatically. Always test after applying changes.
Adjust Memory Limit via cPanel (or Hosting Panel)
If your hosting uses cPanel:
- Login to cPanel
- Open Select PHP Version > Options or MultiPHP INI Editor
- Locate memory_limit and set it to 256M or higher
For GoDaddy or other managed hosts, check their documentation or contact support if settings are locked.
Fix for Shared Hosting with Limited Access
If your hosting doesn’t allow memory changes via code or control panel:
- Contact support to increase memory_limit
- Switch to a host with better PHP memory configuration support
Raise WordPress Memory Without Plugin
Combine manual edits:
- wp-config.php: define(‘WP_MEMORY_LIMIT’, ‘256M’);
- .htaccess: php_value memory_limit 256M
- php.ini: memory_limit = 256M
This approach is plugin-free and preferred by developers and technical users.
Recommended Memory Limit Settings for WordPress Sites
Choosing the right memory limit depends on the type of website, expected traffic, and installed plugins. Below are practical recommendations:
- Small blogs or portfolio websites: 128M is usually sufficient, assuming minimal plugin use.
- Business sites or WooCommerce stores: 256M is recommended to support page builders, SEO tools, and dynamic content.
- Heavy eCommerce, LMS, or membership sites: 512M or more is ideal, especially when running backup plugins, caching layers, and analytics tools.
- Multisite networks: Start with 512M, especially if each sub-site is active.
Ensure your hosting environment allows these values and that your php.ini, wp-config.php, and hosting control panel are all aligned.
How to Avoid This Error in the Future
Fixing the error once is good – but avoiding it long-term is better. Here are ways to prevent it:
- Choose quality hosting: Use providers that allow customizing PHP limits (e.g., Cloudways, Kinsta, Rocket.net)
- Keep plugin use efficient: Remove unused plugins and avoid stacking too many heavy tools
- Monitor memory usage: Use tools like Query Monitor, New Relic, or server-side tracking
- Upgrade hosting when needed: If you’re outgrowing shared hosting, consider a VPS or managed WordPress host
- Limit cron jobs and scheduled tasks: Offload backups or scans to off-peak hours
Conclusion: You’ve Fixed the Memory Exhausted Error
Fixing the “Memory Exhausted Error in WordPress” is usually straightforward. Whether you’re a developer or site owner, you now know how to:
- Identify the root cause
- Check current memory limits
- Apply fixes using wp-config.php, .htaccess, php.ini, plugin, or cPanel
For long-term success, maintain a scalable hosting setup, minimize unnecessary load, and routinely monitor site performance.
FAQ: Fix Memory Exhausted Error in WordPress
What is WP_MEMORY_LIMIT in WordPress?
It is a constant defined in wp-config.php to increase the amount of memory WordPress is allowed to use.
Can I fix the memory limit without editing code?
Yes, you can use plugins or cPanel to change memory settings.
Is 256M enough for WooCommerce?
For most WooCommerce stores, 256M is the minimum recommended. If you use many extensions, consider 512M or more to ensure smooth performance under load.
RELATED POSTS